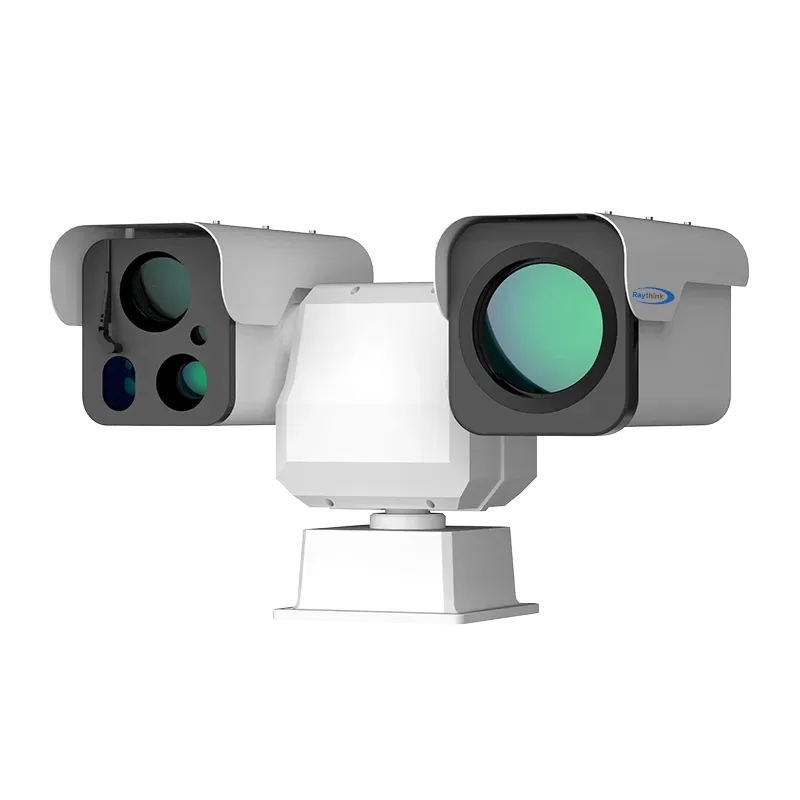
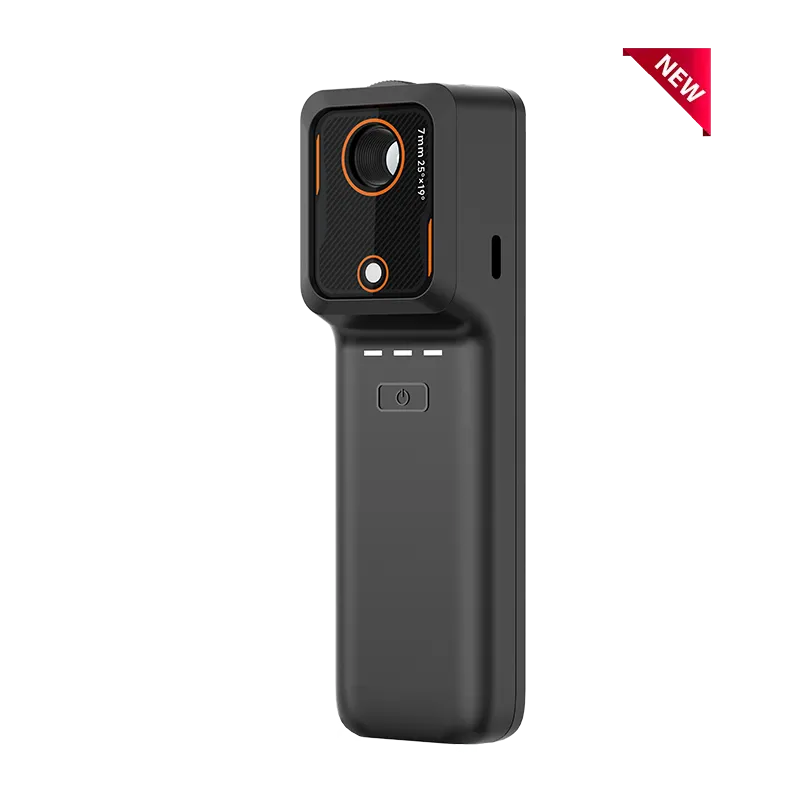
Handheld thermal imaging cameras are powerful tools that allow users to visualize heat signatures, making them essential in various industries such as construction, electrical maintenance, and industrial uses. These devices detect infrared radiation (heat) emitted by objects and convert it into an image, helping users identify temperature differences that are invisible to the naked eye.
This article will guide you through the steps of using a handheld thermal imaging camera.
How a Handheld Thermal Imaging Camera Works?
Before understanding how to use a handheld infrared thermal imaging camera, let’s first look at its working principle.
All objects above absolute zero (-273°C) emit infrared radiation. The technology that uses a special electronic device to convert the temperature distribution on an object’s surface into an image visible to the human eye, displaying the surface temperature distribution in different colors, is known as infrared thermal imaging technology. This electronic device is called at thermal imaging camera.
The Working Principle of a Thermal Imaging Camera
A thermal imaging camera utilizes an infrared detector, optical imaging lens, and optical scanning system to capture the infrared radiation energy distribution pattern of the target being measured and reflect it onto the photosensitive element of the infrared detector.
Between the optical system and the infrared detector, a mechanical scanning mechanism scans the infrared thermal image of the measured object and focuses it onto a unit or spectral detector. The detector converts the infrared radiation energy into an electrical signal, which is then amplified, processed, and converted into a standard video signal displayed on a television screen or monitor as an infrared thermal image.

Note: The thermal image corresponds to the heat distribution on the object’s surface. However, because the infrared radiation signals are weak, the thermal image lacks depth and detail compared to visible light images. Various enhancements are often applied to better interpret the infrared heat distribution, such as adjusting image brightness and contrast, calibration, false color rendering, and mathematical processing like contour lines and histograms.
A Step-by-Step Guide on How to Use a Handheld Thermal Imaging Camera
Step1: Preparation Before Use
Before using the device, check if the battery is sufficiently charged, clean the lens, and ensure that the equipment to be inspected is undamaged. Press the power button to start the device and wait for it to complete its self-check and enter working mode.

At the same time, set appropriate parameters according to different environments and needs, such as the temperature range. The following are specific details to pay attention to:
1. Set the Correct Temperature Range
First, you need to confirm whether you understand the temperature range of the target being measured on-site. To obtain accurate temperature readings, it is essential to set the correct temperature range.

Note: While observing the target, fine-tuning the instrument’s temperature span will result in optimal image quality. This will also affect the quality of the temperature curve and the accuracy of the temperature measurement.
2. Understanding the Maximum Measurement Distance
When measuring the target temperature, it is important to know how far the device can accurately read the temperature. For uncooled thermal imagers, to clearly see the target, it must occupy at least 8 pixels on the screen. If the distance is too far, the target will appear very small in the image, and the measurement results will be inaccurate because the thermal imager will be reading the average temperature of both the target and its surrounding environment under this condition.
To ensure accurate measurements, try to fill the thermal imager’s field of view with the target so that it can be clearly seen and accurate temperature data can be obtained. Additionally, make sure that the distance to the target is not less than the thermal imager’s minimum object distance, otherwise, a clear image cannot be achieved.
3. Clarify Your Needs: Do You Only Need a Clear Infrared Image, or Do You Also Require Accurate Temperature Measurements?
What’s the difference between the two? If you only want a clear infrared image to observe the heat distribution of an object, then you just need to focus on the image clarity.
However, if you also need accurate temperature measurements, for example, to analyze temperature trends or compare temperatures in different areas, you will need to record additional information. This includes factors like the emissivity of the object’s surface, ambient temperature, wind speed and direction, humidity, and surrounding heat reflection sources. These factors can all affect measurement accuracy, especially when detailed analysis is required.

Step2: Inspect the Target Object or Area
When using the handheld thermal imaging camera, aim it at the target area you need to inspect and observe the image on the display. During use, adjust the device to ensure the image is clear and visible. Capture the required images and transmit real-time data to the data center. By combining this with other data at the data center, you can analyze the situation on-site.
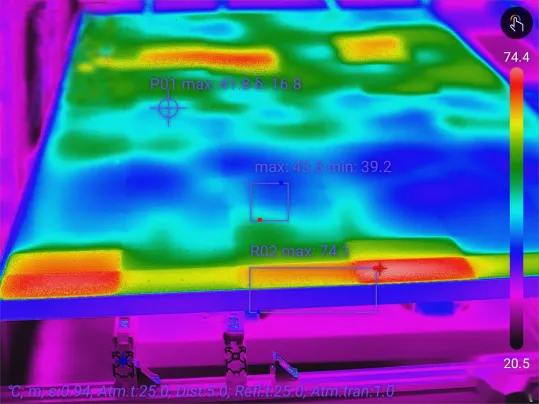
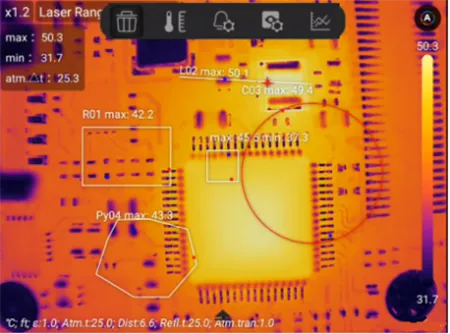
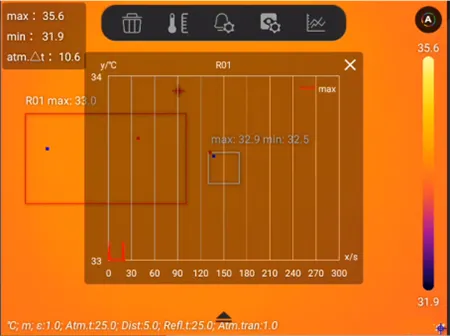
The handheld thermal imaging camera allows real-time temperature viewing in any area of the image and supports functions such as point temperature measurement and area temperature analysis. Save important images and data for future reference and analysis.
During measurement, please also pay attention to the following two points:
1. Adjusting Focus Settings
While you can adjust the brightness and contrast of the image after it is stored, once the focus is set and saved, it cannot be changed, nor can unwanted thermal reflections in the image be removed. Therefore, ensure that the focus is correctly adjusted during operation to avoid mistakes on-site.
Adjust the focus settings carefully! If there are overly hot or cold reflections around the target that affect measurement accuracy, try adjusting the focus or changing the measurement angle to reduce or eliminate these reflections.
2. Keep the Device Steady During Measurement
Moving the device while capturing images can cause blurriness. To achieve the best results, try to keep the device steady when recording images. When pressing the save button, do so gently and smoothly. Even slight movements can make the image unclear. It is recommended to use a support to steady your arm, place the device on a stable surface, or use a tripod to maintain stability.
Step3: Proper Care and Maintenance After Use
After using a handheld thermal imager, it’s important to clean the lens and body with a soft, lint-free cloth. Ensure the battery is properly maintained by fully charging it and checking for damage, which helps maintain battery’s health over time. Moreover, store the device in a protective case in a dry, stable environment. Regular calibration is also necessary to maintain accuracy.
Learning how to use a handheld thermal imaging camera allows us to apply it more effectively during operations, helping to improve both work efficiency and measurement accuracy.

.webp)


